Pipetting Technique: Tips to Improvement and How a Development Company Can Help

-
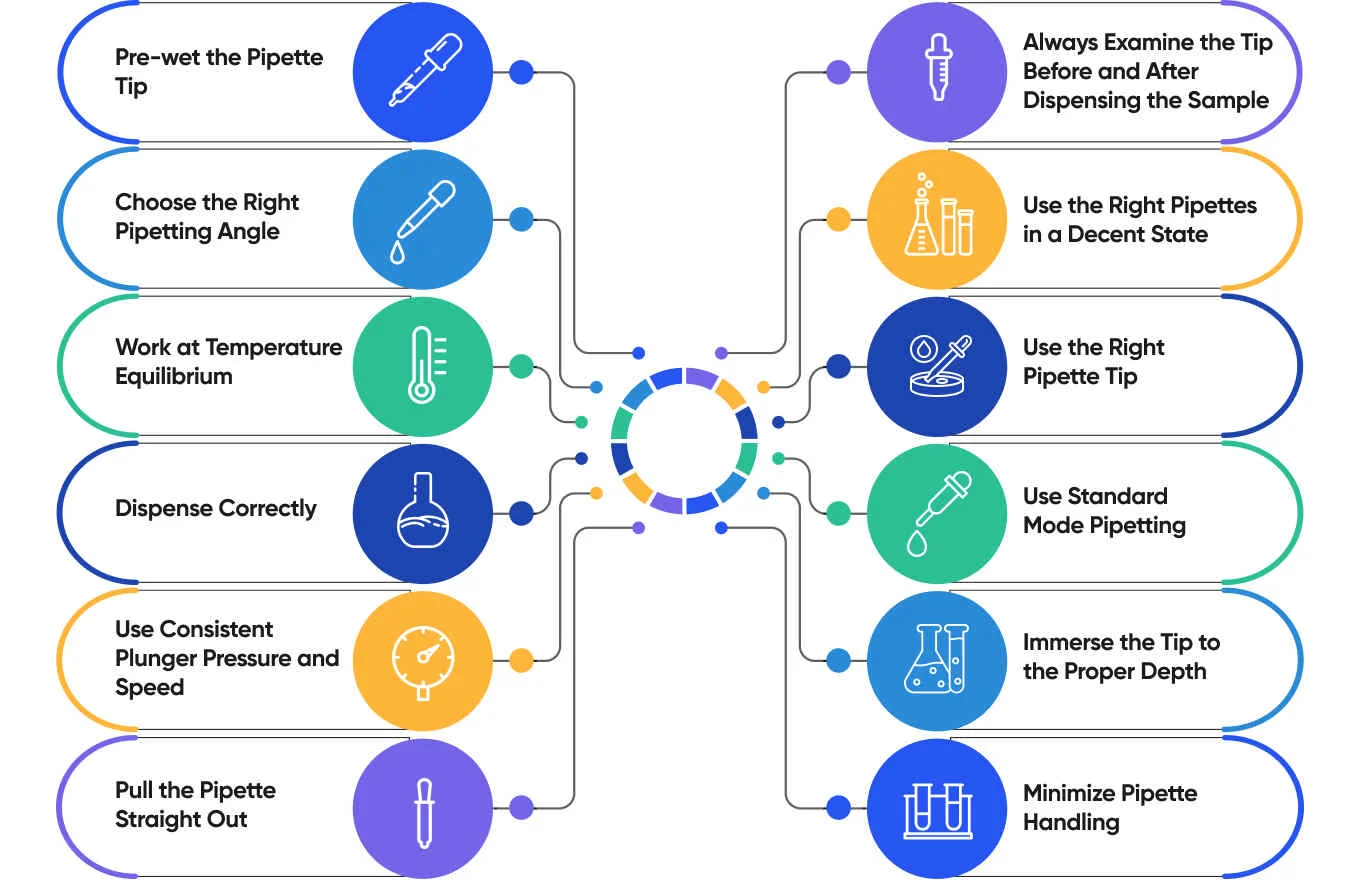
Tips to Improve Your Pipetting Technique
- 1. Pre-wet the Pipette Tip
- 2. Choose the Right Pipetting Angle
- 3. Work at Temperature Equilibrium
- 4. Dispense Correctly
- 5. Use Consistent Plunger Pressure and Speed
- 6. Pull the Pipette Straight Out
- 7. Always Examine the Tip Before and After Dispensing the Sample
- 8. Use the Right Pipettes in a Decent State
- 9. Use the Right Pipette Tip
- 10. Use Standard Mode Pipetting
- 11. Immerse the Tip to the Proper Depth
- 12. Minimize Pipette Handling
- Common Pipetting Errors
- Want to Bring Your Pipetting Precision and Repeatability to the Highest Level?
- Our Solutions for Proper Pipetting Technique
- Summary
- FAQ
CROs, custom synthesis organizations, healthcare labs, R&D organizations, and any other laboratories embrace digitization to take their processes to the next level.
But digitization is not only about high-level workflow and data management.
Simple routine processes are often even more important for lab efficiency than high-level operations. And, fortunately, even such a manual routine process as pipetting can be handled more efficiently with digital solutions.
Read this article to know how to improve lab trial accuracy and efficiency by handling pipetting properly.
All lab managers and staff members should read this article to take their pipetting techniques to the next level and avoid common pipetting mistakes that ruin the efficiency of lab trials.

Tips to Improve Your Pipetting Technique
Straight to the point, these are the tips that will help you improve your pipetting technique. We have collected them through in-person communication with some prominent customers from the chemical manufacturing industry.
1. Pre-wet the Pipette Tip
Before aspirating a sample for delivery, make sure to aspirate and expel any sample liquid at least three times.
To minimize variation in sample evaporation, you should pre-wet the tip thus increasing humidity within it.
If you use the same tip to deliver multiple samples without pre-wetting, the volume of the initial samples may be lower, which is particularly crucial when working with volatile samples, such as organic solvents.
A common problem is that lab staff members forget to pre-wet the pipette. But it can be easily handled with the right software for workflow automation.
Software for lab workflow management can simply use scheduled reminders or ensure that lab staff members run through a checklist before starting the trials.
2. Choose the Right Pipetting Angle
If you want to achieve accuracy in pipetting, you should pay attention to the angles while aspirating and dispensing.
When aspirating, make sure to do so at a 90° angle and withdraw the pipette tip from the center of the container also at a 90° angle. During dispensing, hold the pipette at an angle between 10-45°.
If you do everything properly, the right amount of liquid is drawn into the tip correctly, and there remains no residue in the tip.
That’s where pipetting software can help. It uses a system of sensors to guide a lab staff member with a pipette all along the microplate.
Such an application will help a lab staff member handle the pipette at a pre-set angle.
3. Work at Temperature Equilibrium
Before pipetting, it’s essential to let liquids and equipment equilibrate to the ambient temperature. The volume of liquid delivered by air displacement pipettes can fluctuate with changes in relative humidity and vapor pressure, both of which are temperature-dependent.
To minimize variations in the pipetted volume, we recommend you work at a constant temperature.
Lab management software can record information on the right temperature and provide you with a timely reminder.
And, if supported with sensors, such a system may even help you keep the pipette at the right temperature.
4. Dispense Correctly
When dispensing the sample, it’s crucial to press the tip to the side of the container or into the liquid already present.
Remember to maintain the angle as mentioned earlier (between 10-45°). That’s where the above-mentioned pipetting software, the one that guides the pipette across the microplate, will come in handy.
Avoid dispensing directly into the air, as this can impact the accuracy of your measurements and affect the results.
5. Use Consistent Plunger Pressure and Speed
When operating the plunger, make sure to press down and release it smoothly and consistently.
Try to apply uniform pressure and speed while aspirating and dispensing each sample.
The key point is to maintain consistency in your actions because this will yield consistent and repeatable results.
That’s where a supported sensors solution that guides the pipette across the table will be helpful. It will help you achieve good pipetting technique.
6. Pull the Pipette Straight Out
When aspirating samples, remember to hold the pipette vertically and be careful not to touch the sides of the container.
Once you’ve aspirated the sample, pull the pipette straight out of the liquid from the center of the container. This technique becomes particularly crucial when working with small liquid volumes (<50 µL). Holding the pipette at an angle as you remove it from the sample can affect the aspirated volume.
Also, avoid touching the sides of the container, as it may cause wicking and lead to a loss of volume due to surface tension.
One more time, supported with sensors pipetting software will notify you about your pipetting pull corrections so that you will handle this routine process properly.
7. Always Examine the Tip Before and After Dispensing the Sample
Before dispensing, take care to remove any droplets on the outside of the tip using a lint-free cloth. Be sure to avoid contact with the tip opening while doing this.
If any absorbent material comes into contact with the opening, it can quickly draw the sample from the tip. Avoid excessive wiping of the tip as it may lead to sample loss.
When dispensing a sample, place the tip against the side of the container to release any remaining residual sample.
Keep your thumb pressed on the second stop of the plunger, and then remove the tip to prevent the sample from being re-aspirated back into the pipette tip. Ensure that you can visibly confirm the sample has completely left the tip before proceeding.
8. Use the Right Pipettes in a Decent State
Using a pipette with a volume range closest to the volume you plan to aspirate and dispense is crucial.
Your test’s accuracy will improve when there’s a slight difference between the pipette’s minimum volume and the volume you’re working with.
For instance, if you need to dispense 15 µL, using a 1 mL pipette would be inappropriate, while opting for a 20 µL pipette would be the ideal choice.
ERP software will help you store your pipettes, check your inventories, and pick up the right pipette more conveniently.
9. Use the Right Pipette Tip
Opt for quality pipette tips that offer an airtight seal without requiring excessive force.
These tips should be made of superior materials and free from molding defects, guaranteeing reliable liquid delivery.
Prioritizing the use of such high-quality tips will contribute to the accuracy and consistency of your pipetting results.
One more time, ERP software will help you store your pipette tips and manage them properly or even purchase the correct tips with resource planning functionality.
10. Use Standard Mode Pipetting
Opt for “standard (or forward) mode” pipetting when working with aqueous samples, and save “reverse mode” for especially viscous or volatile samples.
When using reverse pipetting technique with regular aqueous samples, the pipette tends to deliver more than the calibrated volume.
Remember that employing standard pipetting with viscous or volatile samples may lead to under-delivery.
11. Immerse the Tip to the Proper Depth
Before aspirating, make sure to immerse the pipette tip adequately below the meniscus of the liquid.
For large-volume pipettes (1-5 mL), it’s recommended to immerse them to a depth of 5-6 mm, while for smaller-volume pipettes, 2-3 mm immersion is sufficient. Be cautious of too little immersion, especially with large-volume pipettes, as it may result in air aspiration.
Excessive immersion can cause samples to adhere to the outside of the tip. Also, avoid touching the bottom of the container with the tip, as it could restrict aspiration.
Striking the right balance in tip immersion ensures smooth and accurate pipetting.
12. Minimize Pipette Handling
Hold the pipette loosely and remember to return it to the pipette stand or set it down whenever you’re not actively pipetting.
It’s essential to wear gloves consistently to minimize body heat transfer to the pipette and prevent handling pipette tips or containers of samples that are yet to be pipetted.
The transfer of body heat during handling can disrupt the temperature equilibrium, potentially resulting in the variation in the volumes delivered.
While lab staff members often forget about such simple rules, lab workflow management software with checklists and reminders ensures that these requirements are not missed.
Common Pipetting Errors
And, surely, you should learn from errors in order to avoid them. These are the most errors in volumetric pipetting technique and other pipetting techniques:
- Working too quickly
- Removing the pipette tip before sample aspiration is complete
- Dragging the pipette tip along the side of the container when exiting the sample
- Releasing the plunger too rapidly
- Not pre-wetting a new tip.
Gladly, all these problems can be solved with the right software for pipetting, ERP, or lab process management.
Want to Bring Your Pipetting Precision and Repeatability to the Highest Level?
If you want to handle your pipetting practices more efficiently, there are two common solutions.
One solution is constant training of lab staff members. Practice will, eventually, help them achieve great manual pipetting technique.
Another is implementing software that guides pipetting across the microplate with sensors, allowing laboratory staff members maintain identical pressure, speed, and angle every time.
Such a solution also reminds lab staff members of important pipetting practices with an electronic lab notebook checklist and detailed step-by-step prompts.
It also helps lab managers keep the pipettes in the right state with top-notch ERP functionality.

Our Solutions for Proper Pipetting Technique
As a leading provider of lab digitization services, SoftFormance is ready to help you take pipetting to the next level.
We will help you find the best pipetting management app that provides a pipetting checklist and step-by-step prompts for lab trials.
Or we will help you pick the right Internet-of-Lab-Things solution with sensors that guides you through the microplate by illuminating the correct angles and movement directions. It can become your one-stop solution for solid multichannel pipette technique.
Such a solution can also record data, export reports, and inform you about the efficiency of your pipette technique, ensuring excellent lab software interoperability.
And if you are working on a governmental contract, running a franchise, or having very specific requirements, we are ready to help you with a custom solution.
As a company experienced in delivering state-of-the-art lab management and automation solutions, SoftFormance is ready to guide you all along the software development lifecycle.
Summary
Pipette is a small thing, but failure to handle it properly can ruin your lab trials, regardless of your specialization.
Master proper pipetting with continuous training and the right software solutions that support your routine workflows!
SoftFormance, as a company with exceptional chemical industry expertise from Life Chemicals, Cerium Labs, and other projects, is ready to deliver!
Contact us and let’s take your pipetting to the state of perfection!
FAQ
Pipetting is a lab process used to measure and transfer small volumes of liquid accurately from one container to another. It is a critical workflow for laboratories from healthcare, research & development, chemical, and other industries.
A certain way to improve pipetting technique is constant training. Another useful solution is applying lab software that guides pipetting with sensors, helps to store pipettes and their tips properly, or organizes workflows with step-by-step prompts.
Pipetting is a critical process in various lab trials. Failure to achieve accuracy in pipetting leads to bad and inconsistent results of the trials.
The right angle, correct choice of pipettes, consistency in pressure and movement, and many other factors determine the precision and accuracy in pipetting. All of these routines can be mastered through constant training and with the help of chemical lab solutions.
There is always an opportunity to use reverse mode pipetting, but such an approach often brings worse results than standard mode pipetting. As for tools, you can always use pipetting solutions supported with sensors to optimize your pipetting accuracy and precision.